Raspberry Pi使用BMP180取得大氣壓力及溫度
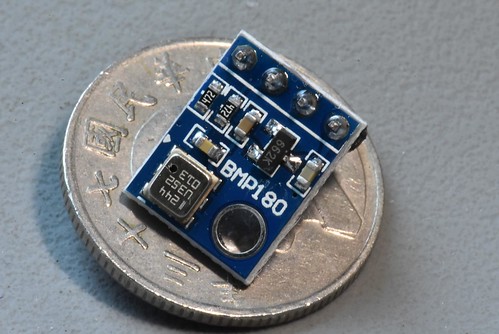
完成了樹莓派/Raspberry Pi 3 Model B+使用DHT22取得溫度濕度、及Raspberry Pi 搭配Cacti監控溫濕度 後,就繼續安裝另一個sensor - BMP180大氣壓力感測器。
由於之前不清楚要另外買線材,所以直到去光華商場買了杜邦線後才得以接線。因為打算把DHT22和BMP180都接在麵包板上,所以買的是杜邦線公母頭。
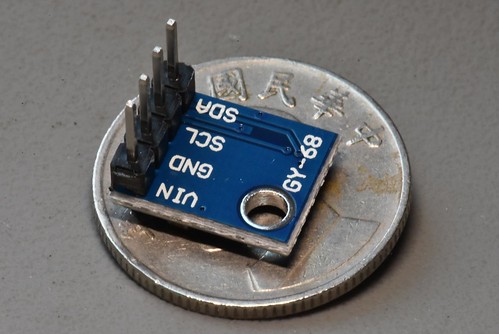
此次也是參考賣家提供的資料- Overview | Using the BMP085/180 with Raspberry Pi or Beaglebone Black | Adafruit Learning System實做。接腳方式如下…
- VCC ,接3.3V
為何接3.3V?在上述網頁中有特別用紅色字做以下說明
Make sure that you connect the VIN pin on the BMP sensor to 3V3, NOT 5V0! Connecting VIN to the 5V supply will cause the board to use 5V logic, which is perfect for the Arduino, but may damage the sensitive 3.3V inputs on the Raspberry Pi.
- GND ,接GND
- SCL ,接GPIO#3
- SDA ,接GPIO#2
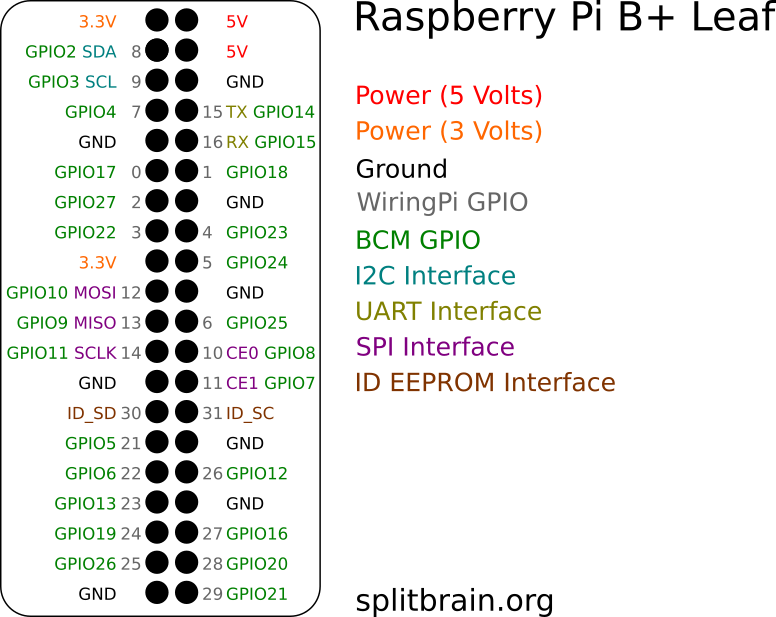
如不清楚GPIO接腳,可以參考下圖…
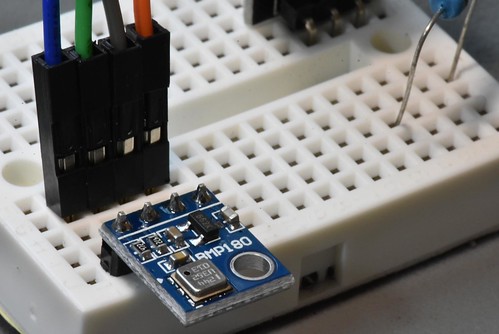
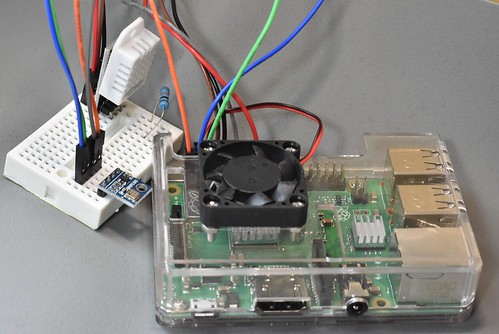
下圖則是實際的接線的照片…
線路接好後,接者來處理相關軟體設定、與安裝…
首先是開啟Raspberry Pi的I2C介面
#先更新
sudo apt-get update
#如果已經安裝過git,可不用執行這行
sudo apt-get install git
#安裝I2C所需程式
sudo apt-get install -y python-smbus
sudo apt-get install -y i2c-tools
#開啟Raspberry Pi的 I2C,詳細操作可參考網址Installing Kernel Support (with Raspi-Config)
sudo raspi-config
#需重開機
sudo reboot
#重開機後測試是否可抓到BMP085,如果是
sudo i2cdetect -y 1
再來是安裝讀取BMP180 的Python library
#安裝Python library
git clone https://github.com/adafruit/Adafruit_Python_BMP.git
cd Adafruit_Python_BMP
sudo python setup.py install
#執行測試程式
cd examples
sudo python simpletest.py

#以下是執行結果
Temp = 25.50 *C
Pressure = 100940.00 Pa
Altitude = 30.10 m
Sealevel Pressure = 100967.00 Pa
參考資料
- Overview | Using the BMP085/180 with Raspberry Pi or Beaglebone Black | Adafruit Learning System
- BMP180 Sensor Pinout, Configuration, Specifications, Circuit & Datasheet
- Overview | Adafruit BMP183 SPI Barometric Pressure & Altitude Sensor | Adafruit Learning System
留言